DIY - Silk Painting Frame
I paint silk for fun and in preparation for spending some quality time this summer producing silk works, I decided to build myself a new portable silk painting frame. A good silk painting frame is essential because it keeps the silk floating free, allowing for better control of the application process (if your silk is not floating, you run the risk of having your dyes and guttas smear and wick uncontrollably across the fiber weave). I'm going to walk you through the steps to make your own adjustable simple silk painting frame. And I'll go through the stretching process in a follow up blog as well.
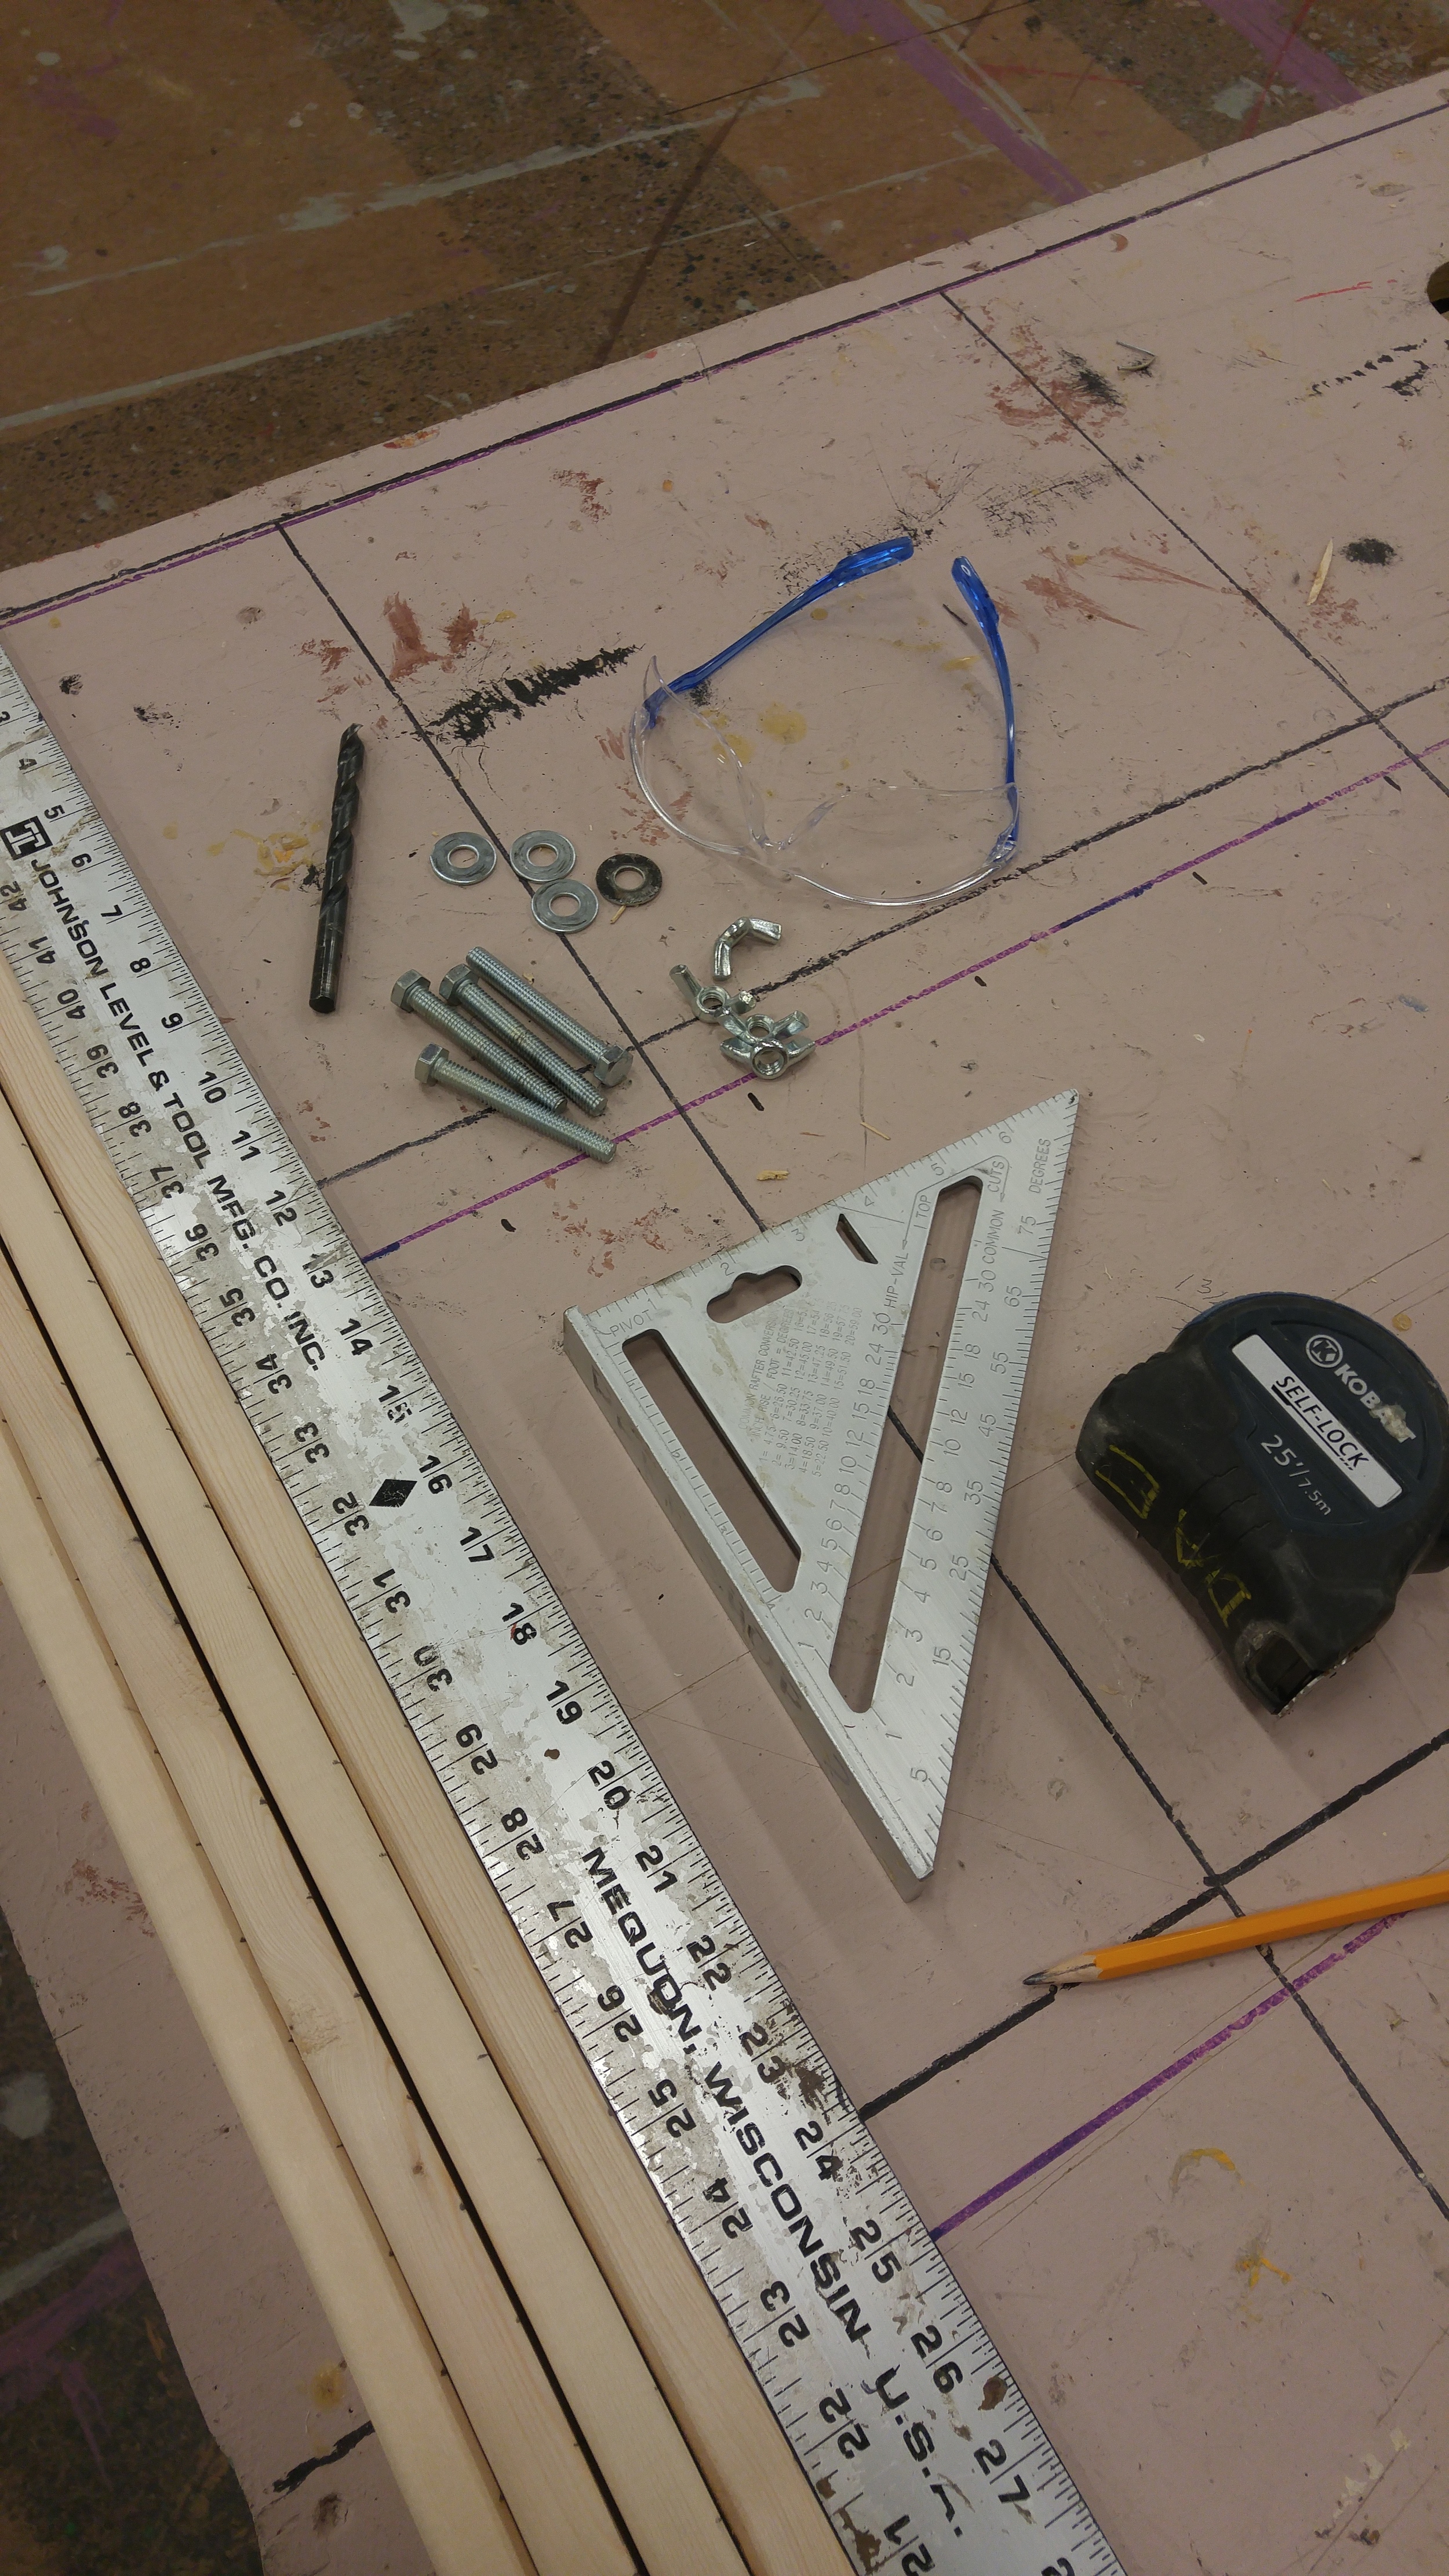
What you'll Need
(2) 37 inch lengths of pine/oak 1x3*
(4) 3 inch hex head bolts, 9/16" diameter
(4) 9/16" flat washers
(4) 9/16" wing nuts
Clear Wood Sealer
Sand paper
Tape Measure
Speed Square
Straight Edge
5/8" Drill Bit
Safety Glasses & Pencil
Electric Drill or Drill Press
Electric Orbital Hand Sander - optional
Table Saw - optional
*Its important that the lumber you use is of a decent quality, nice and straight with minimal knots.*
Step One
Cut your pine down to size. I went with 37" lengths of 1x3 pine, so my frame can work with a maximum size of 36" x 36" silks. I have a table saw in my shop, so I cut my pine down myself, but a good hardware or wood shop is likely willing to rip it down for you if you don't have this tool. You want your to rip your pine down the center, leaving you with four sticks of 1-3/8" wide, by 3/4" thick with a length of 37".
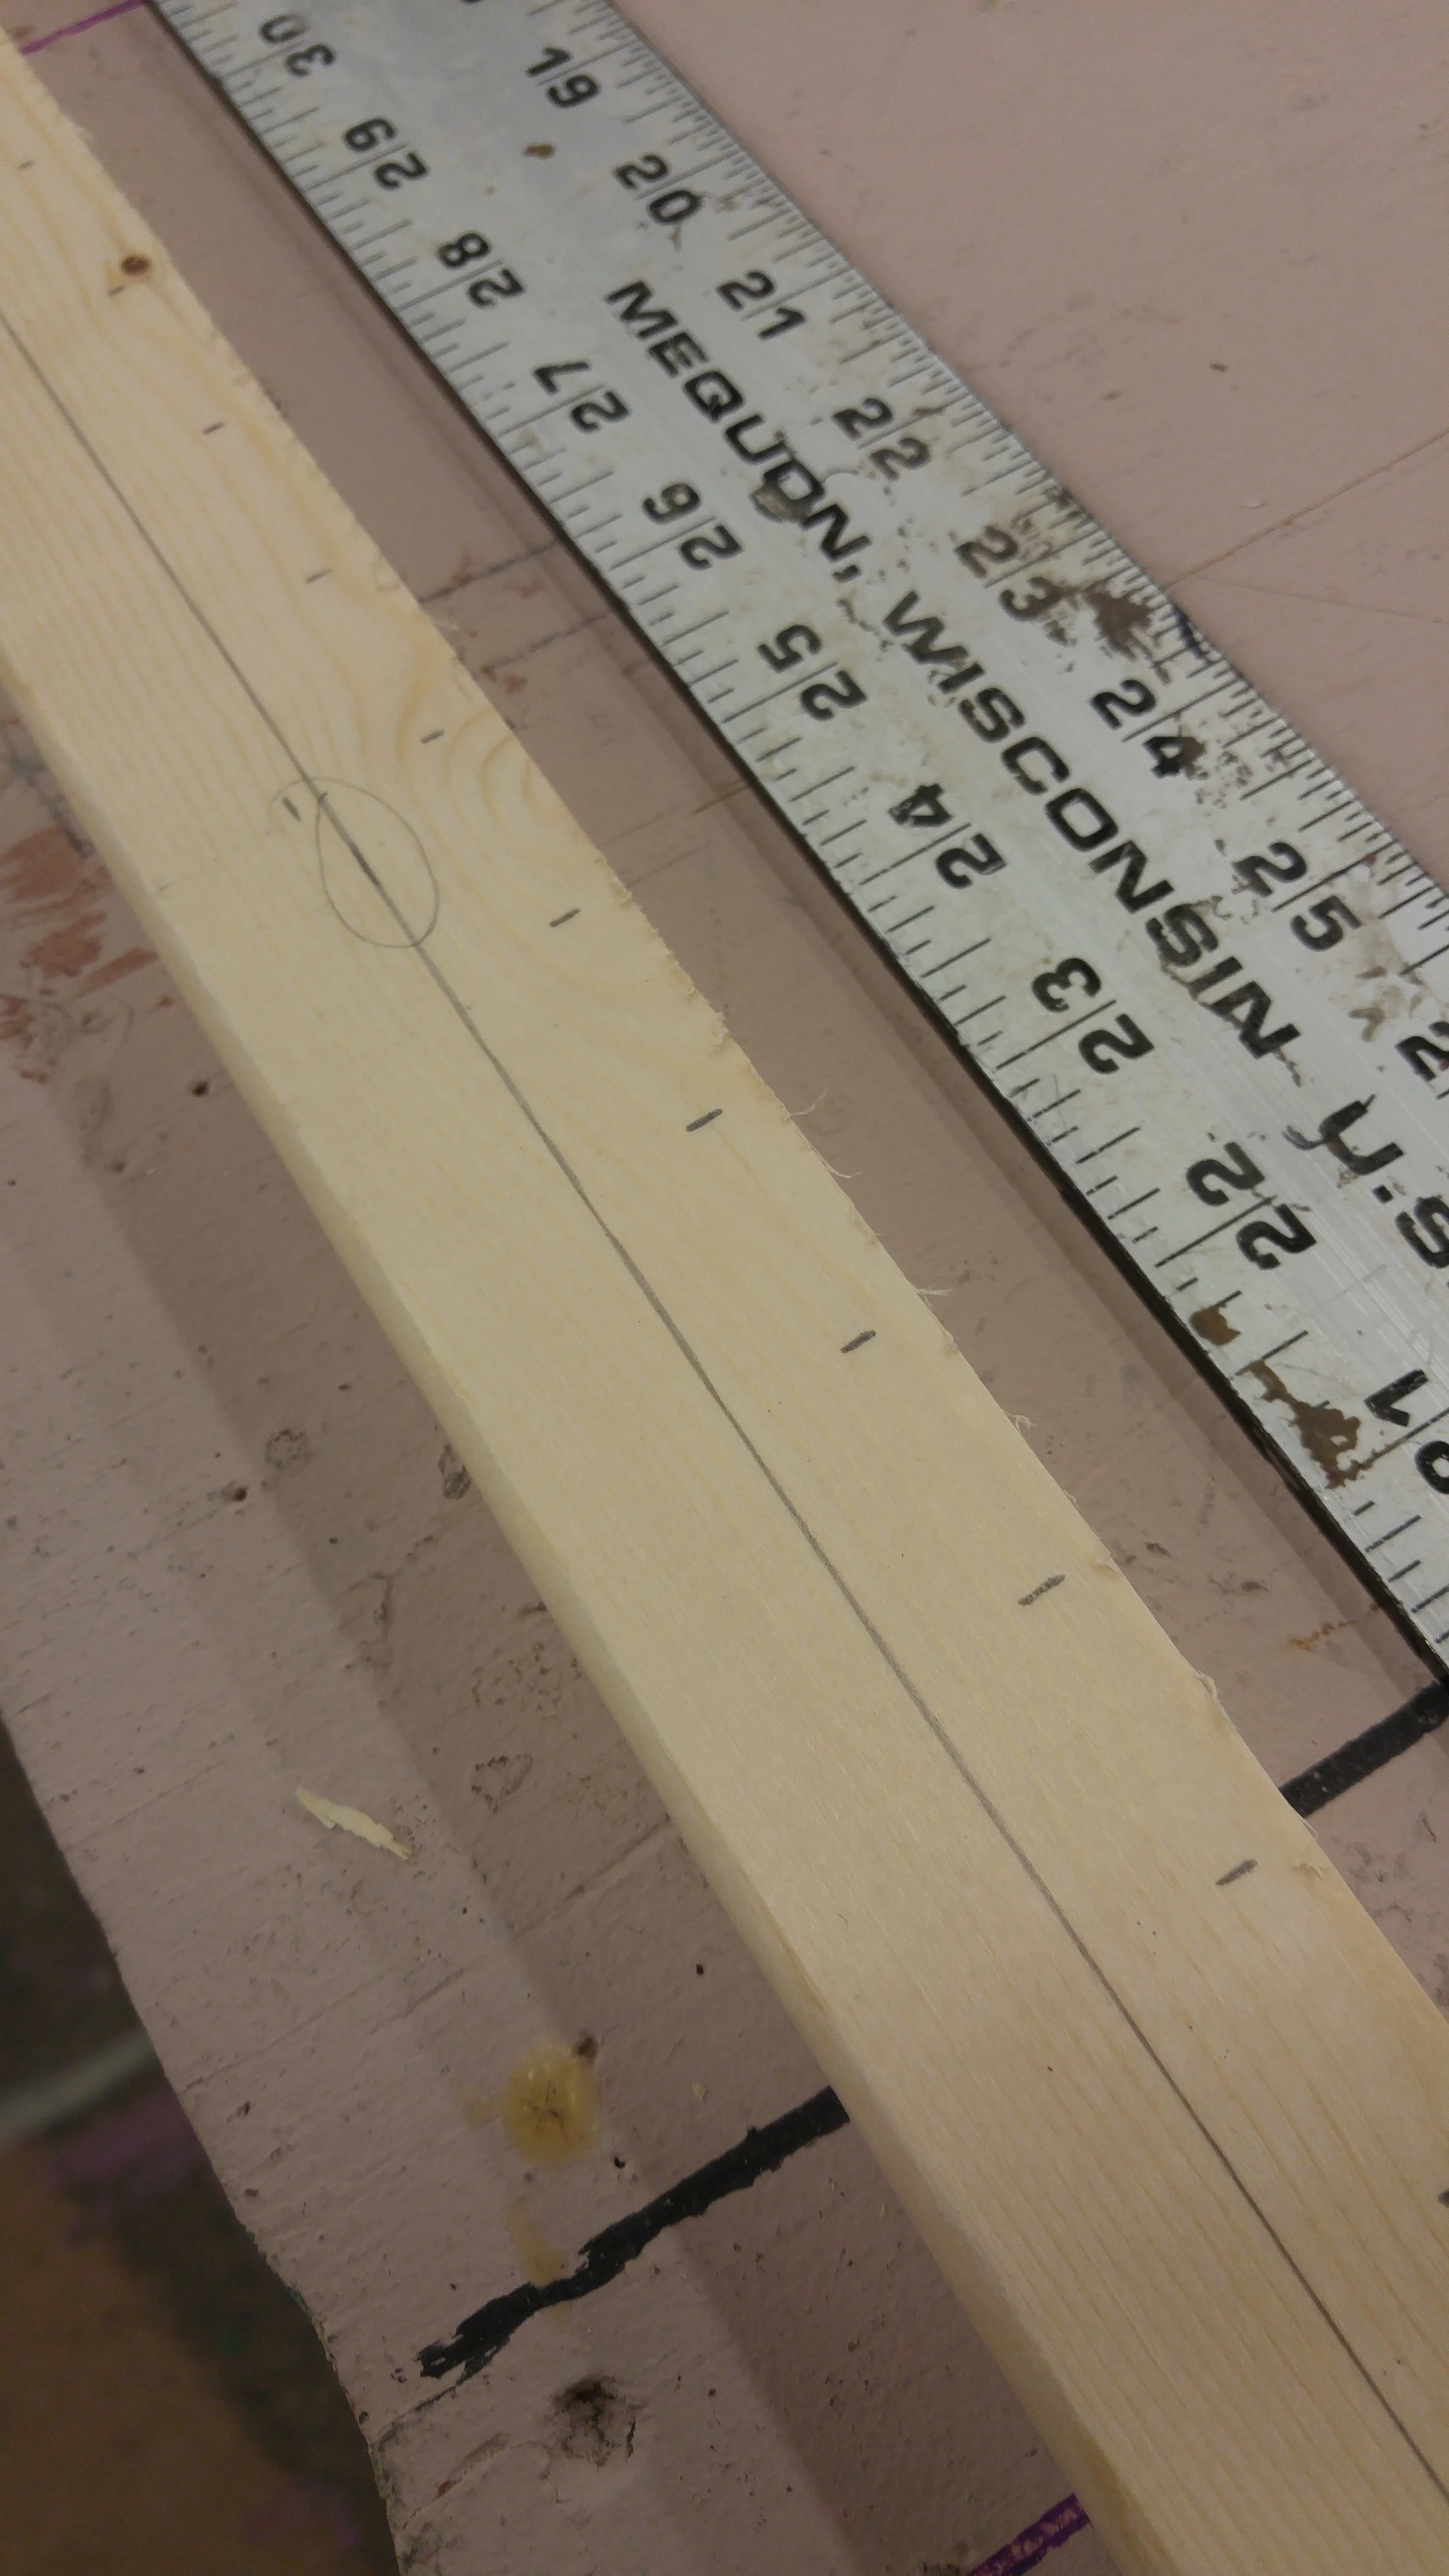
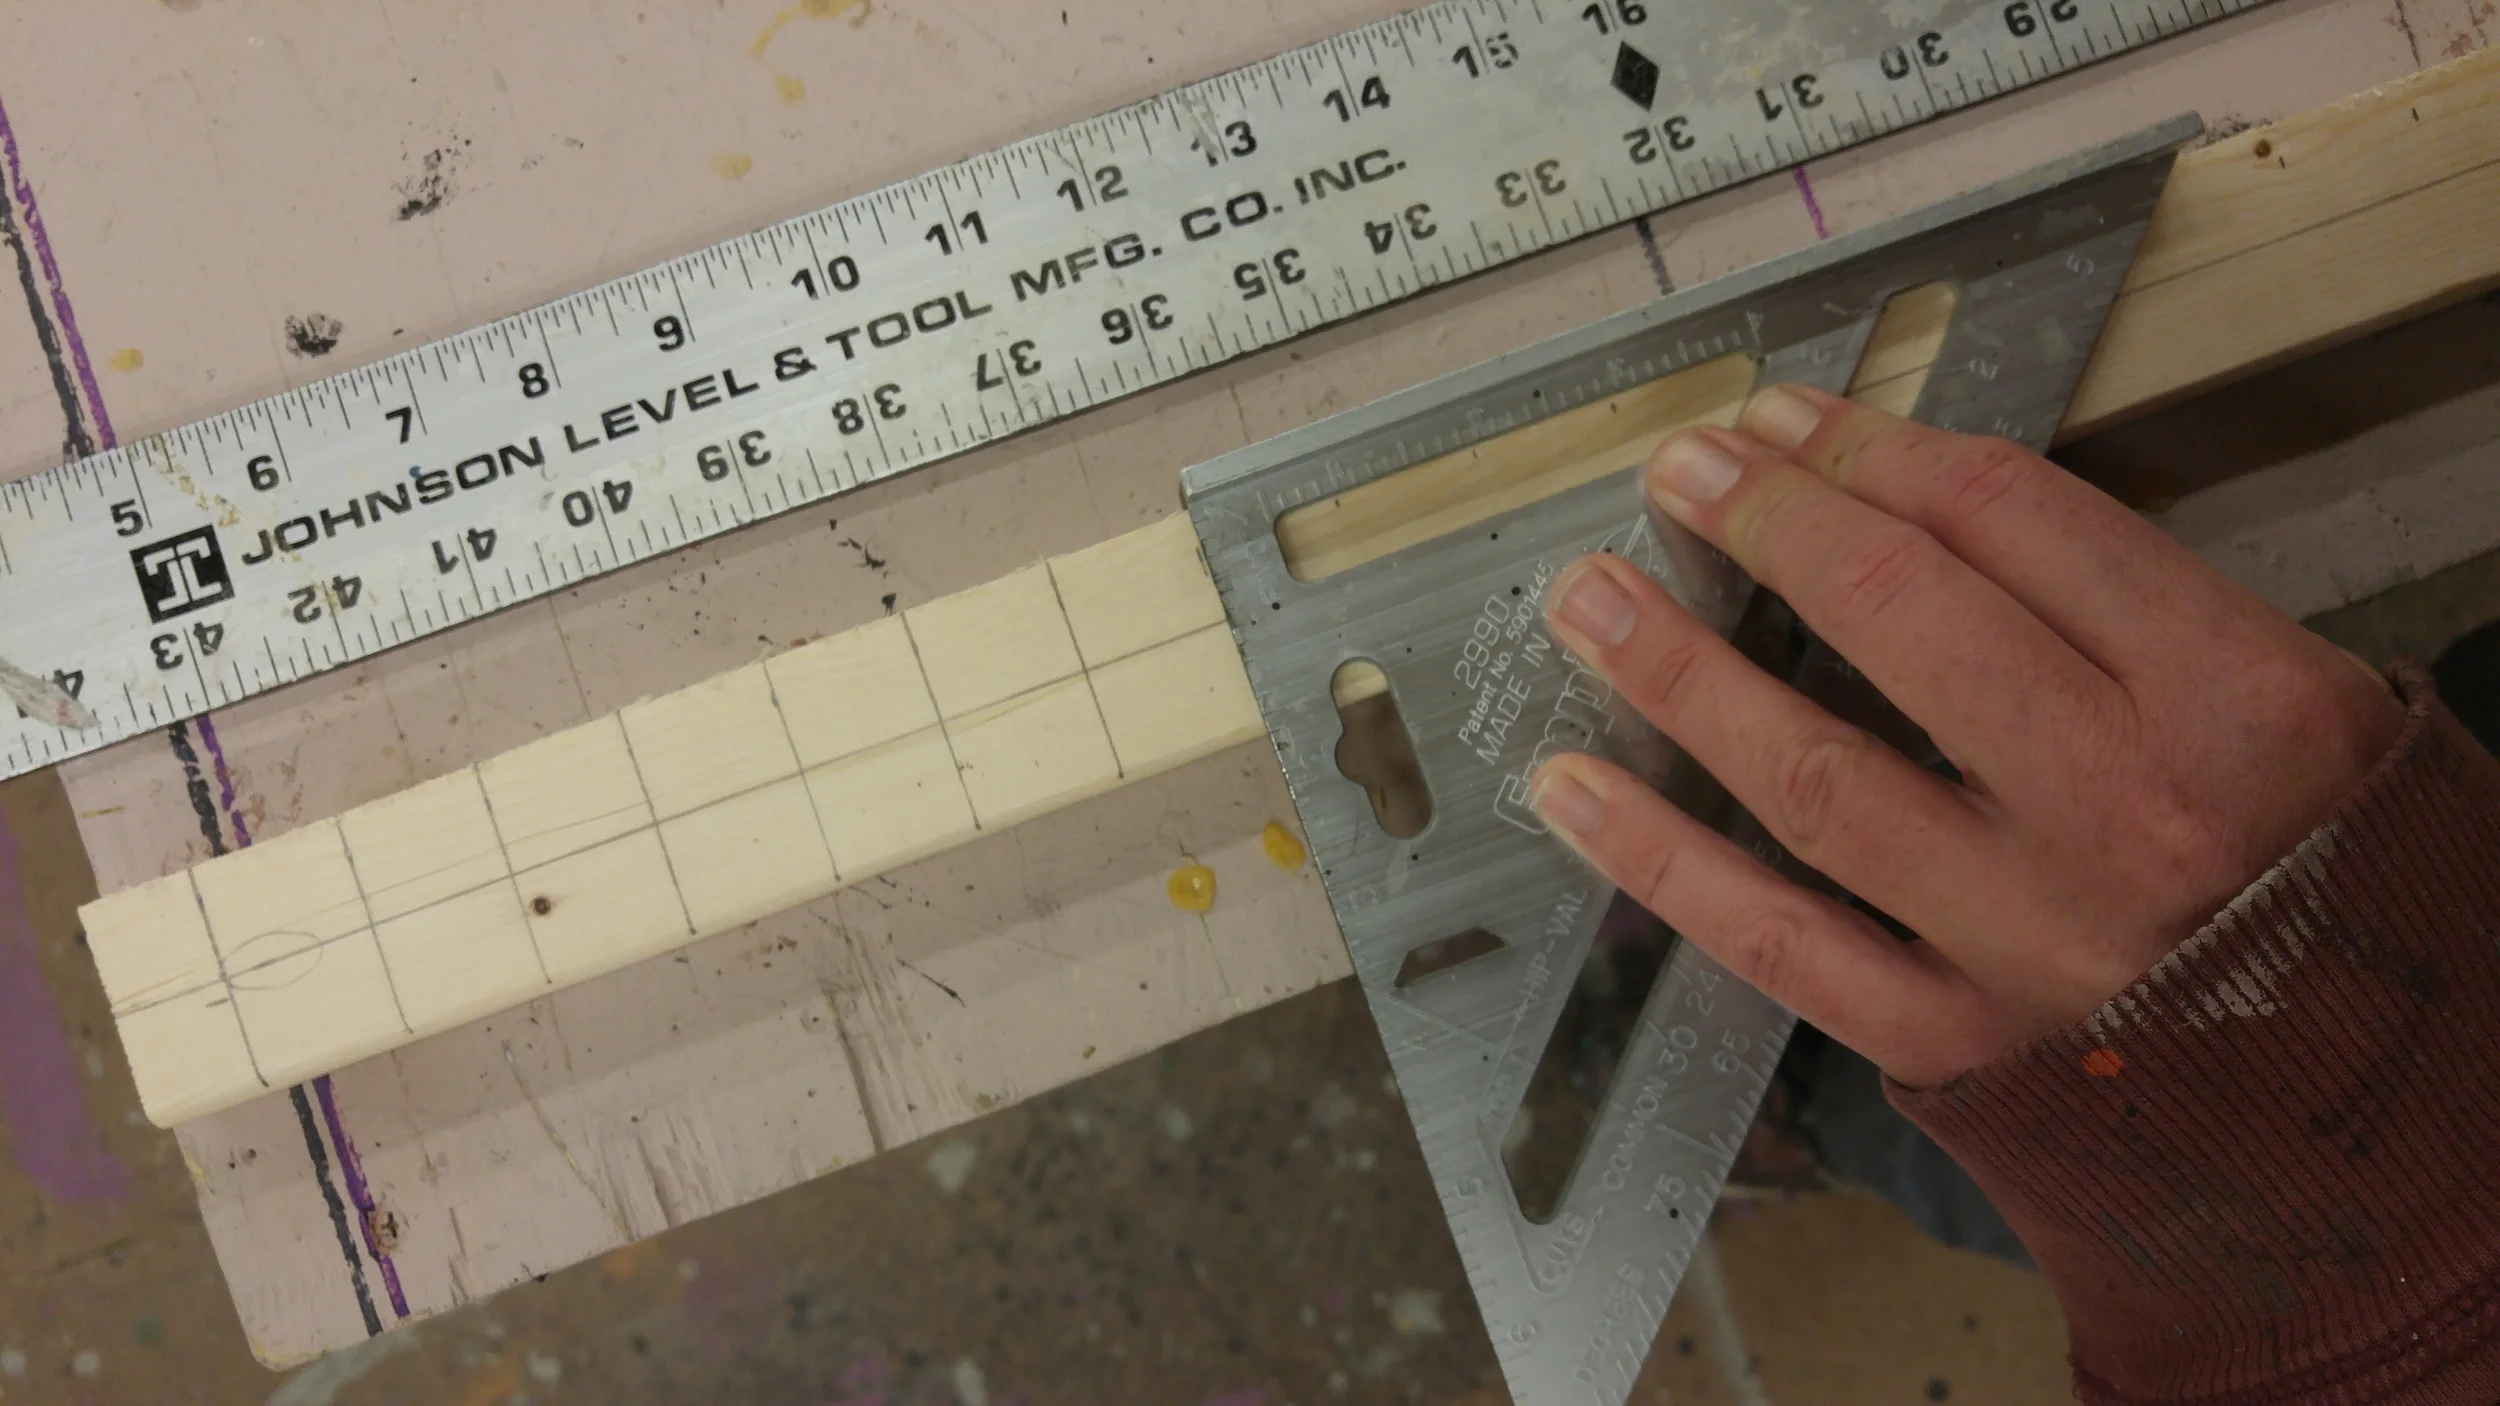
Step Two
Mark center along the length of each stick using the straight edge. Then take your tape measure and pencil and make a tic mark every inch. Using the speed square draw your lines across the pine, intersecting with your vertical line.
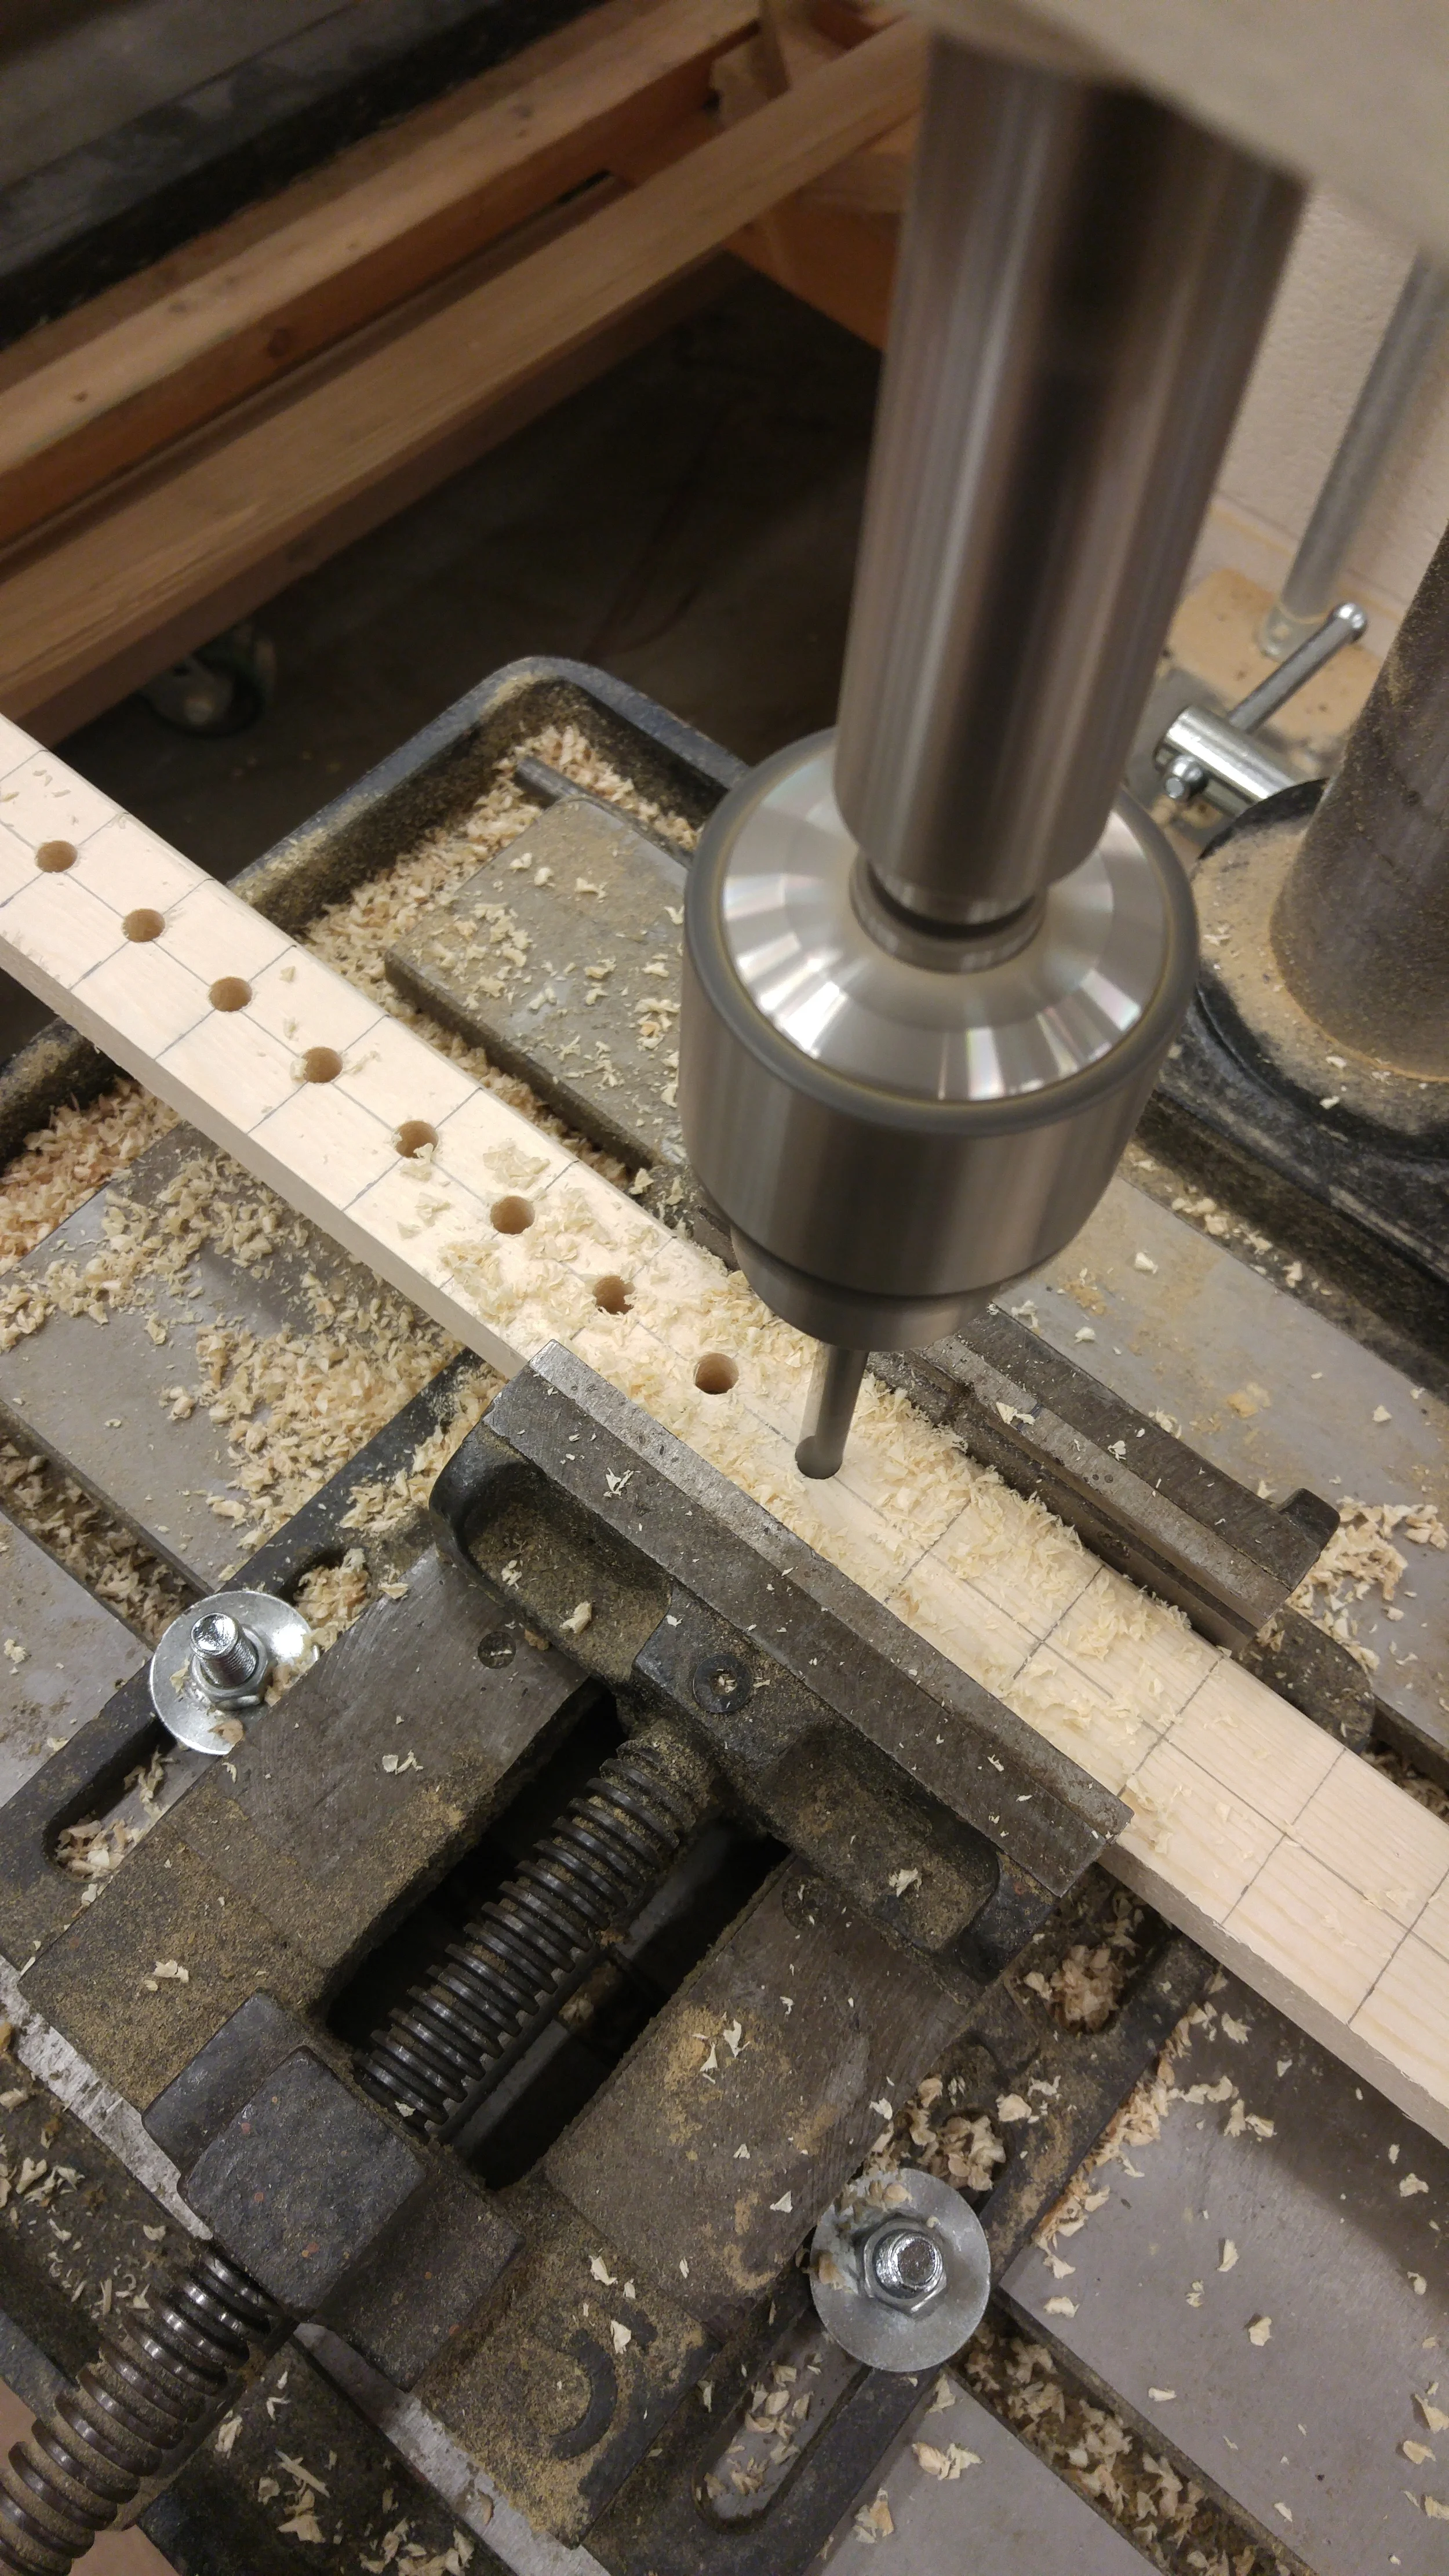
Step Three
Drill the holes. I used a 5/8" drill bit for my frame, creating holes slightly larger than my 9/16" bolts. This means that my bolts move through the lumber with less effort, making it easy to set up and adjust my frame. I don't have to fight friction when I install my bolts this way and they still have a snug fit keeping the frame nice and secure when it is set up.
I used a drill press to speed this step up, but you can use a hand-held drill as well - just be sure that you keep your drill perpendicular to the top of your lumber and drill straight through so you don't end up with angled holes. Center the bit on the cross marks you drew in step two.
Step Four
Sand & seal your drilled lumber. I hand sanded the edges of the drilled holes, knocking off the larger splinters from drilling. Then I followed this up with a few passes using my electric orbital sander across all six sides of each lumber piece. You want to make sure there aren't any splinters or rough patches which may snag your silks when you use the frame.
Then seal your lumber. I used Rustoleum flat spray sealer, but you can use any kind of sealer you wish. The lumber needs at least two coats of sealer, while four is better and will help extend the life of your frame. Make sure you follow product directions for application, cleanup and use of proper protective equipment. Always apply sealer in a well ventilated area, outside or in a spray booth (unless you don't like having brain cells & want cancer).
Sealing the lumber may seem like an unnecessary step, but don't be fooled. Sealing the lumber is essential as dyes will stain untreated wood and may be transferred onto your work surface, silks, or whatever the frame comes into contact with. By sealing the lumber, you make your frame cleanable, and you can wipe any spilled dyes off with soap and water once you are done painting.

Step Five
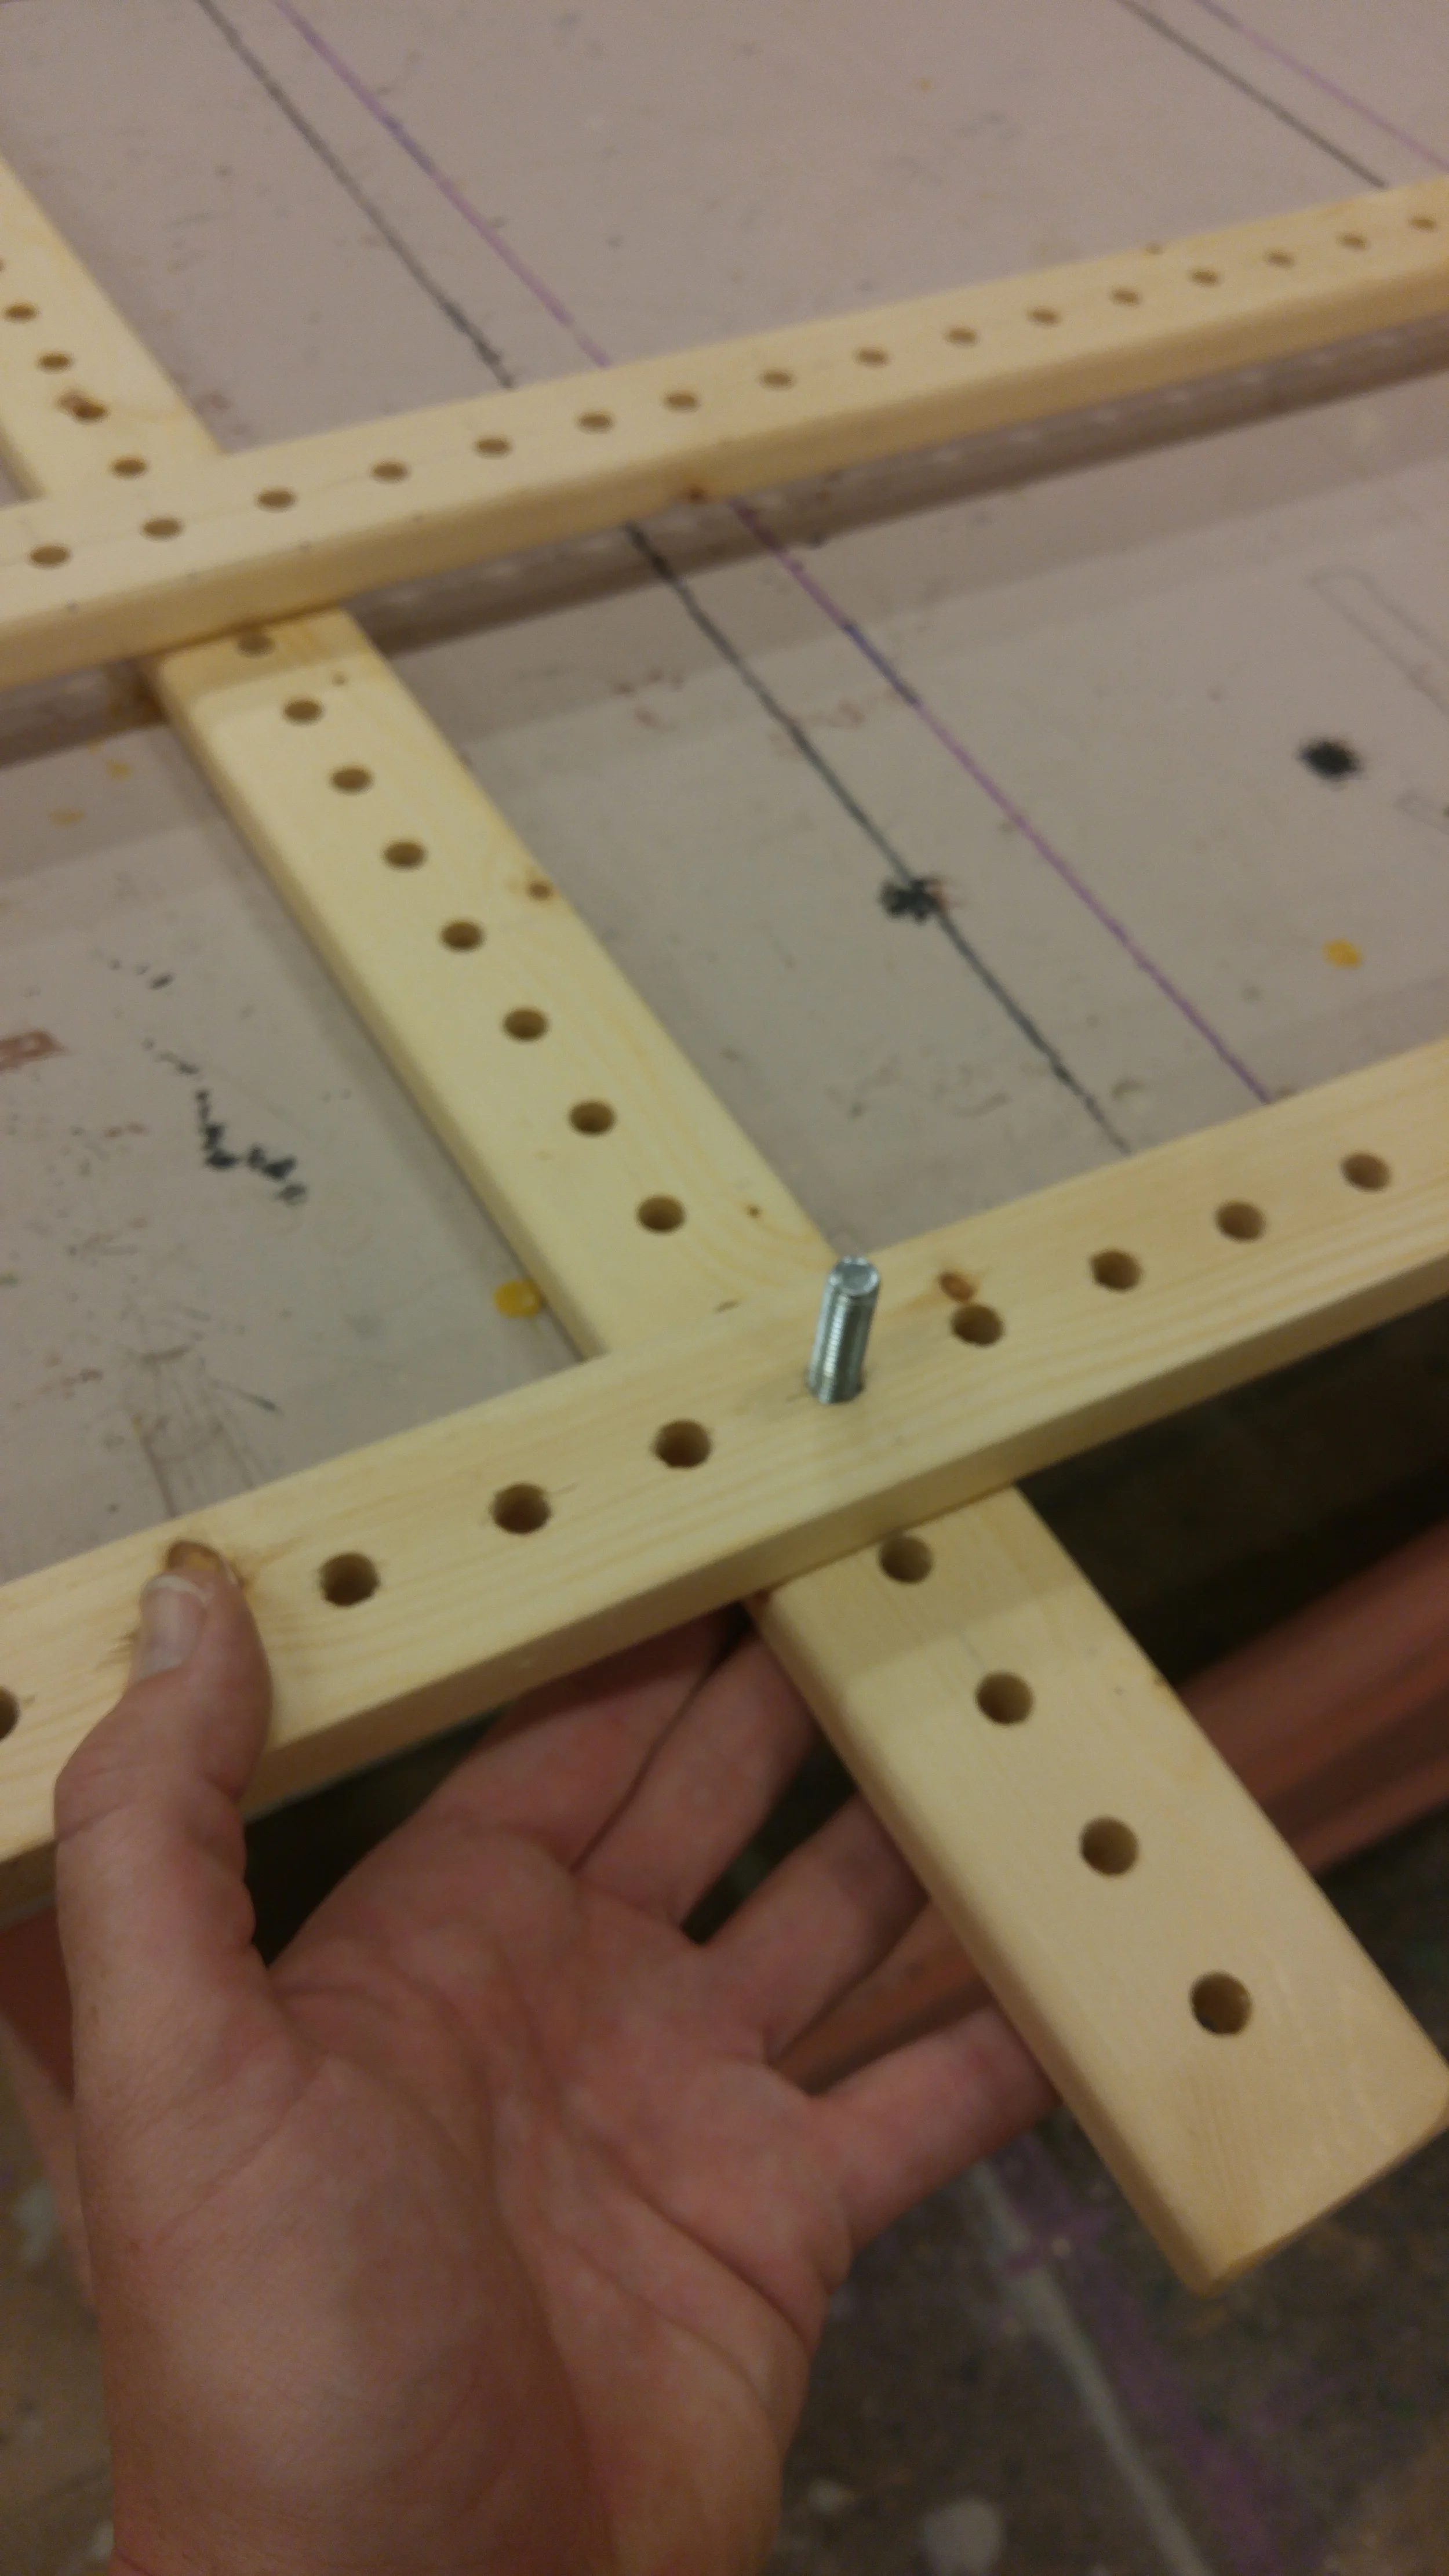
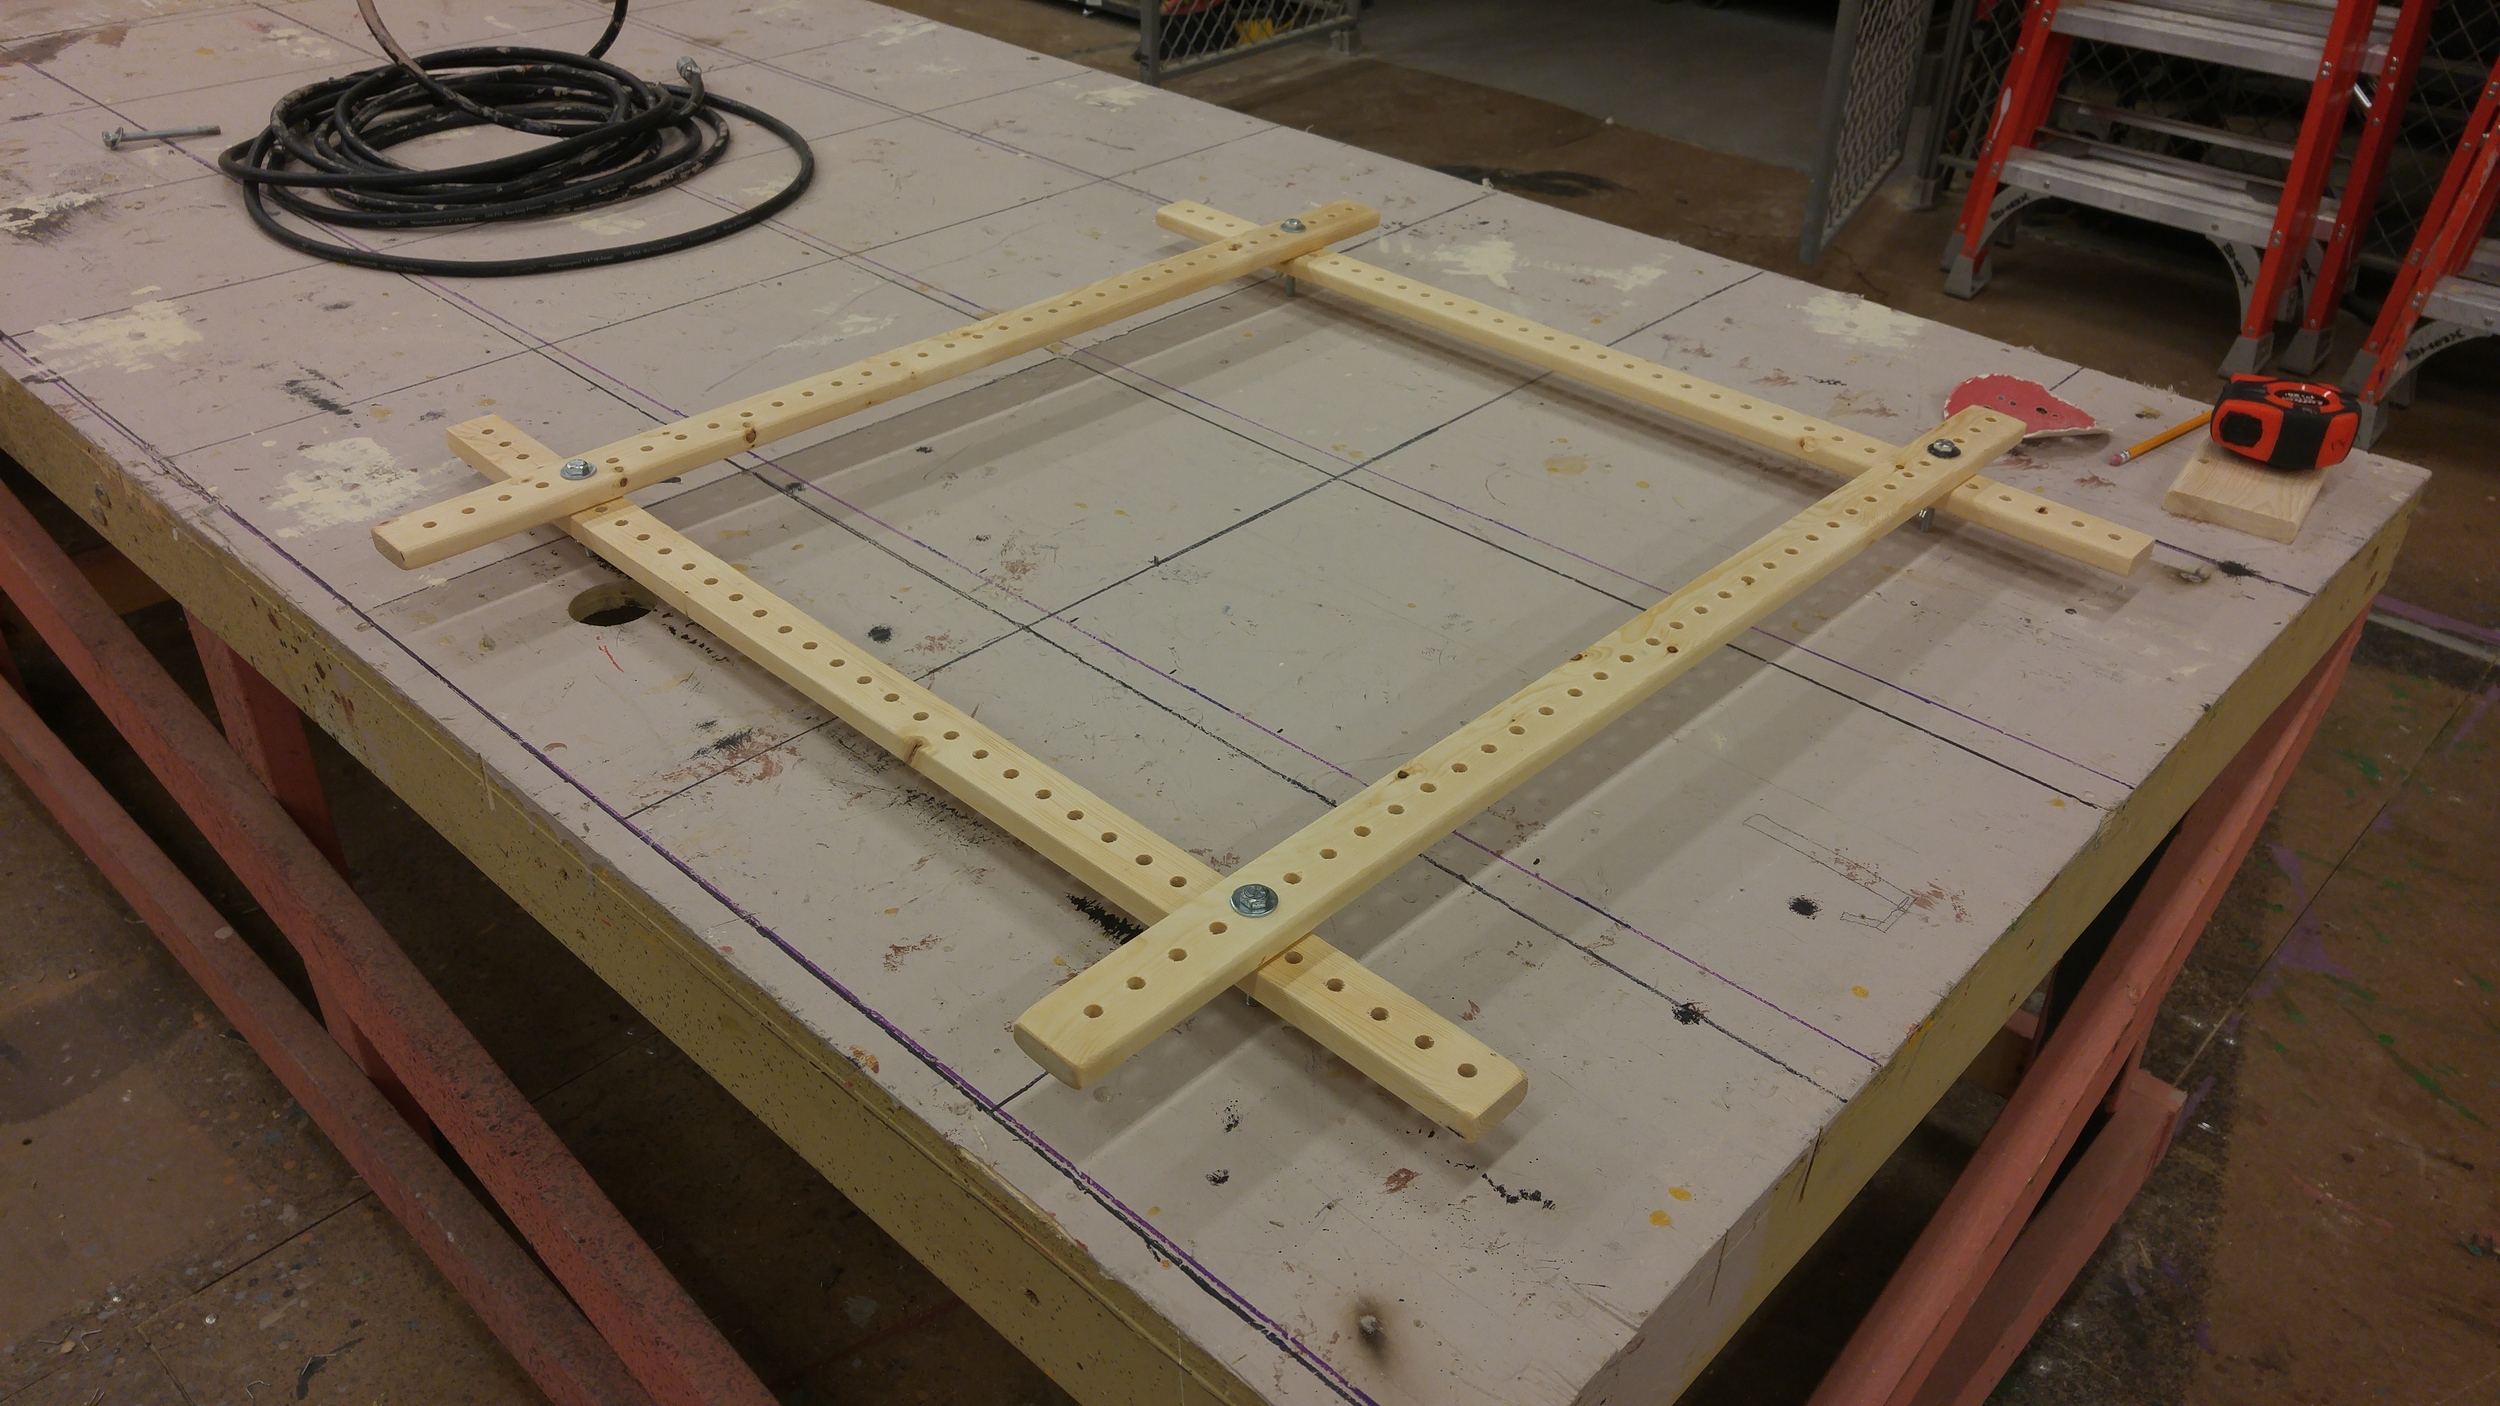
Assemble your frame. Once the sealer is dry, you are ready to set up your frame. Place a washer on each bolt, and slip the bolt through the hole of your choice. You will have two pieces of lumber creating the lower level of the frame, with the remaining two placed perpendicular on top making the second level and completing the frame.

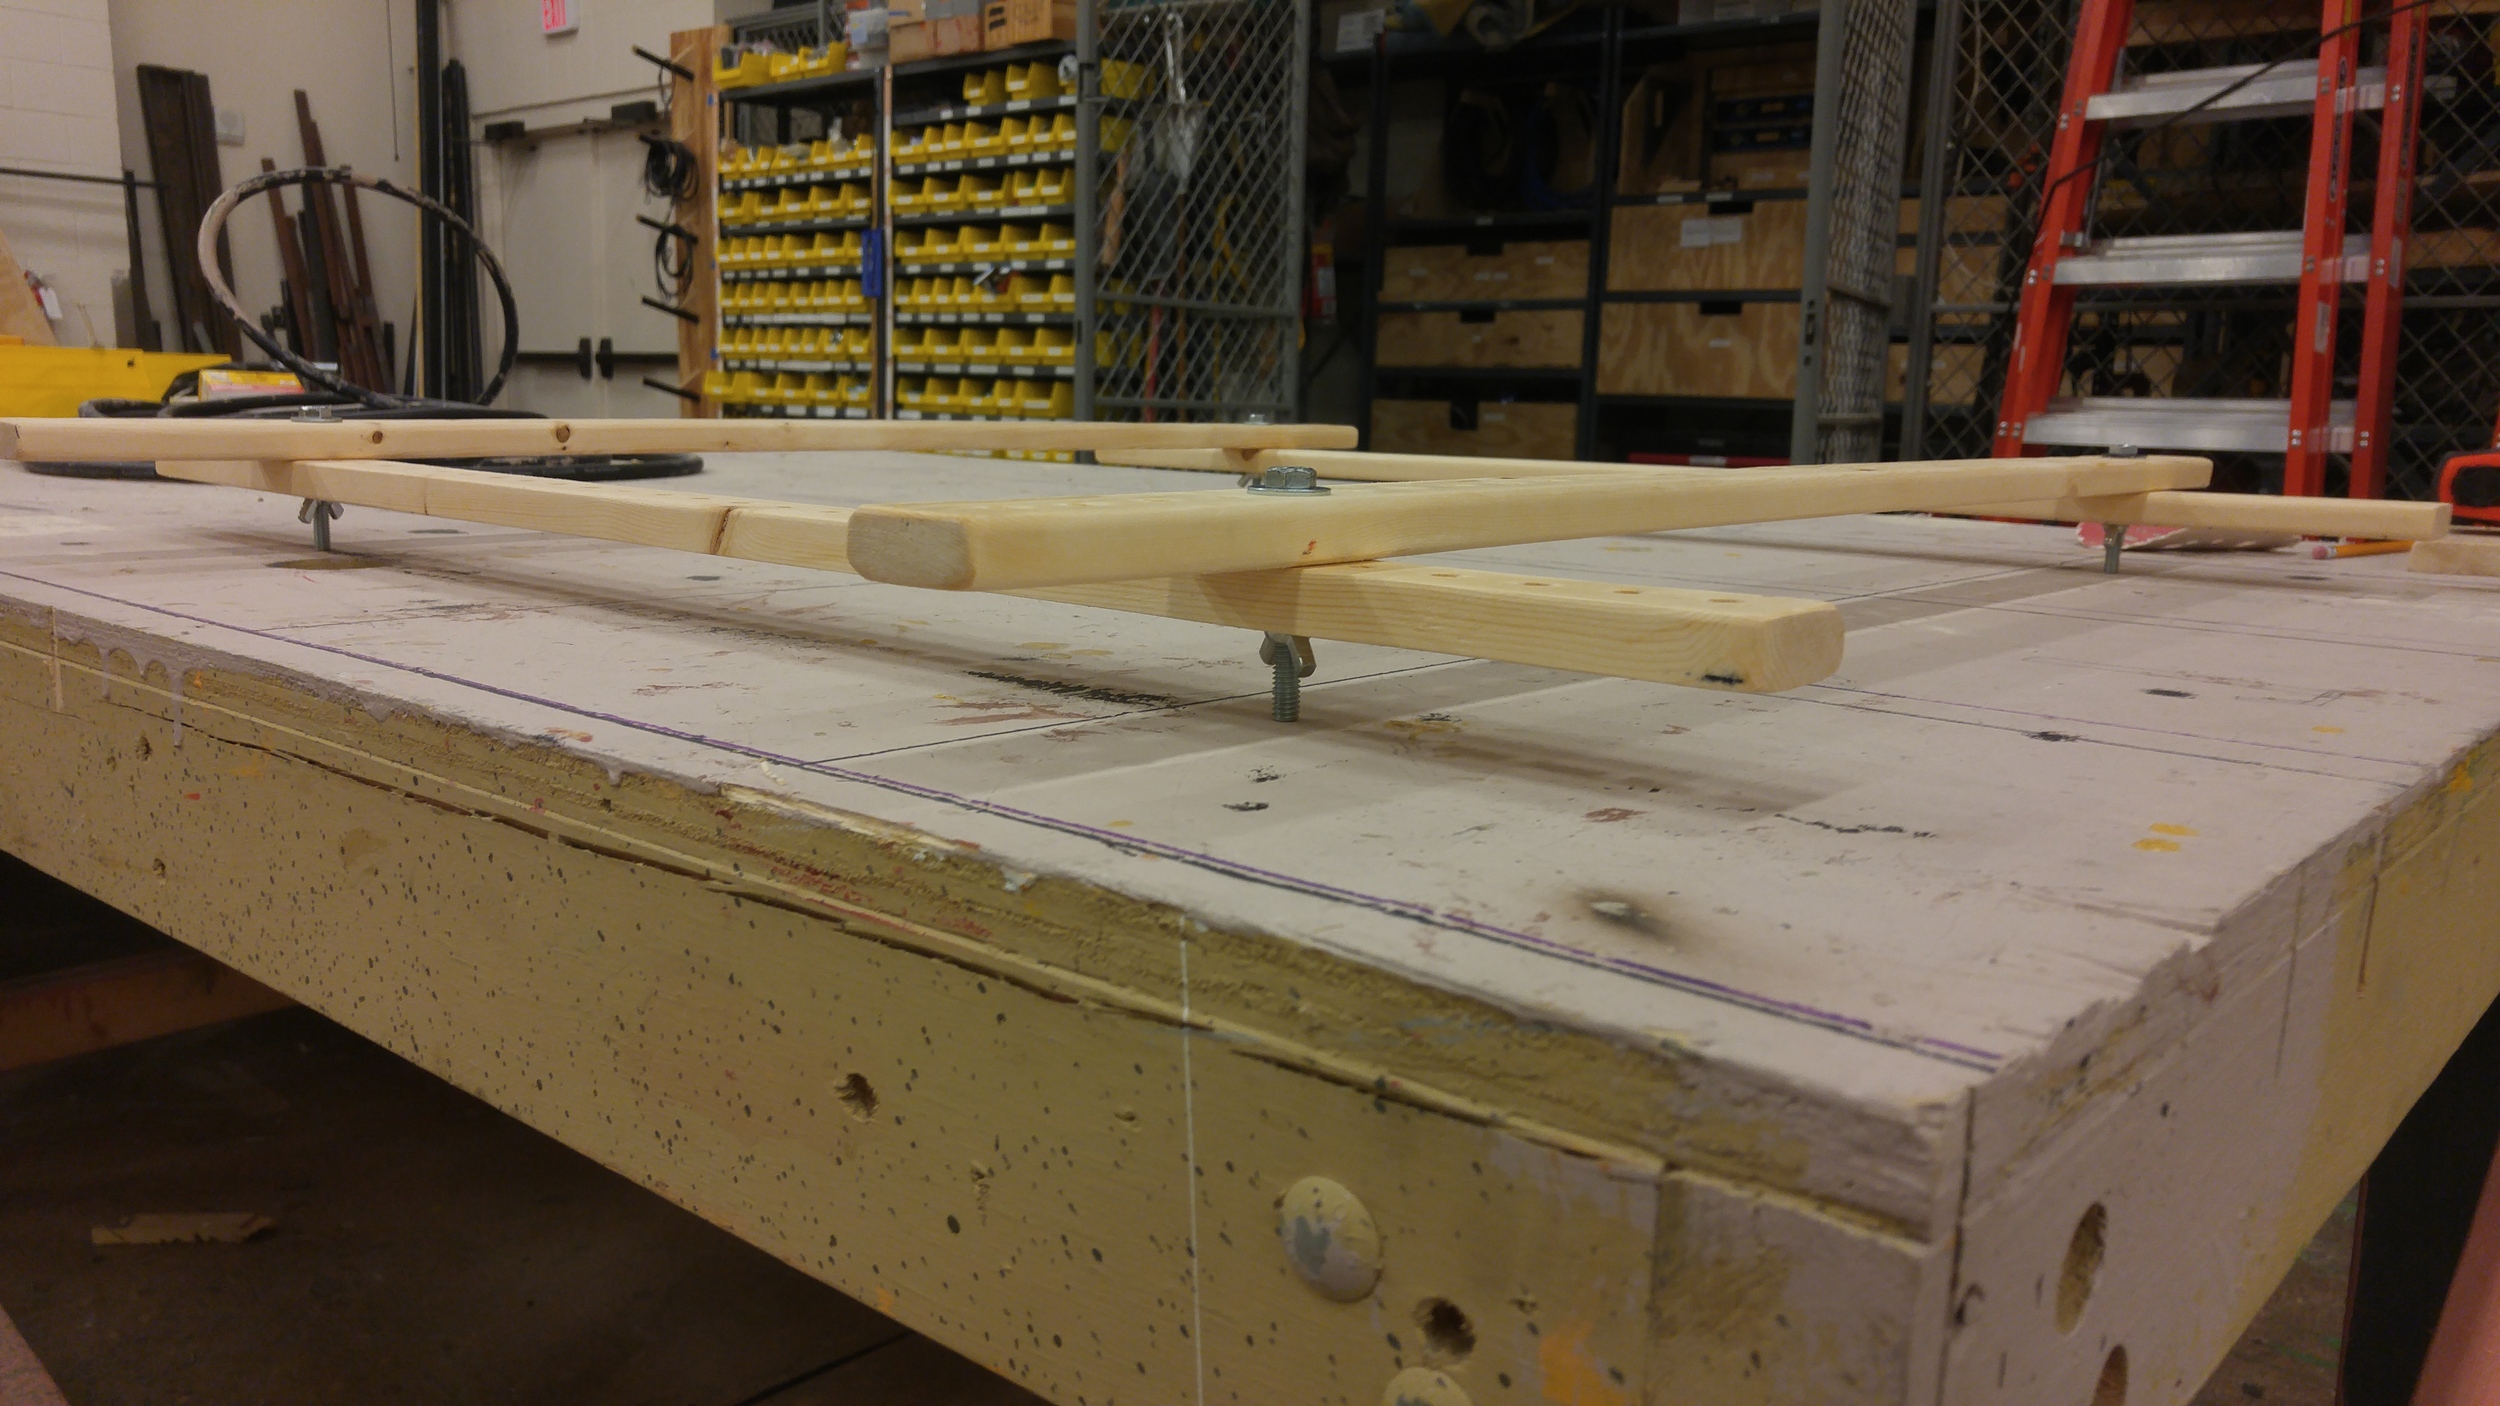
Bada-Bing! Done! You can adjust the frame to work with a variety of sizes of silk, by moving the placement of your bolts. As you can see in the picture above to the right, the frame stands on the bolts, lifting it off the table, allowing for the silks to float free once stretched. Check back to see a DIY on stretching your silk to prep for paint. After that I'll get into methods for applying gutta with this frame, laying out the cartoon, and painting the silk itself.
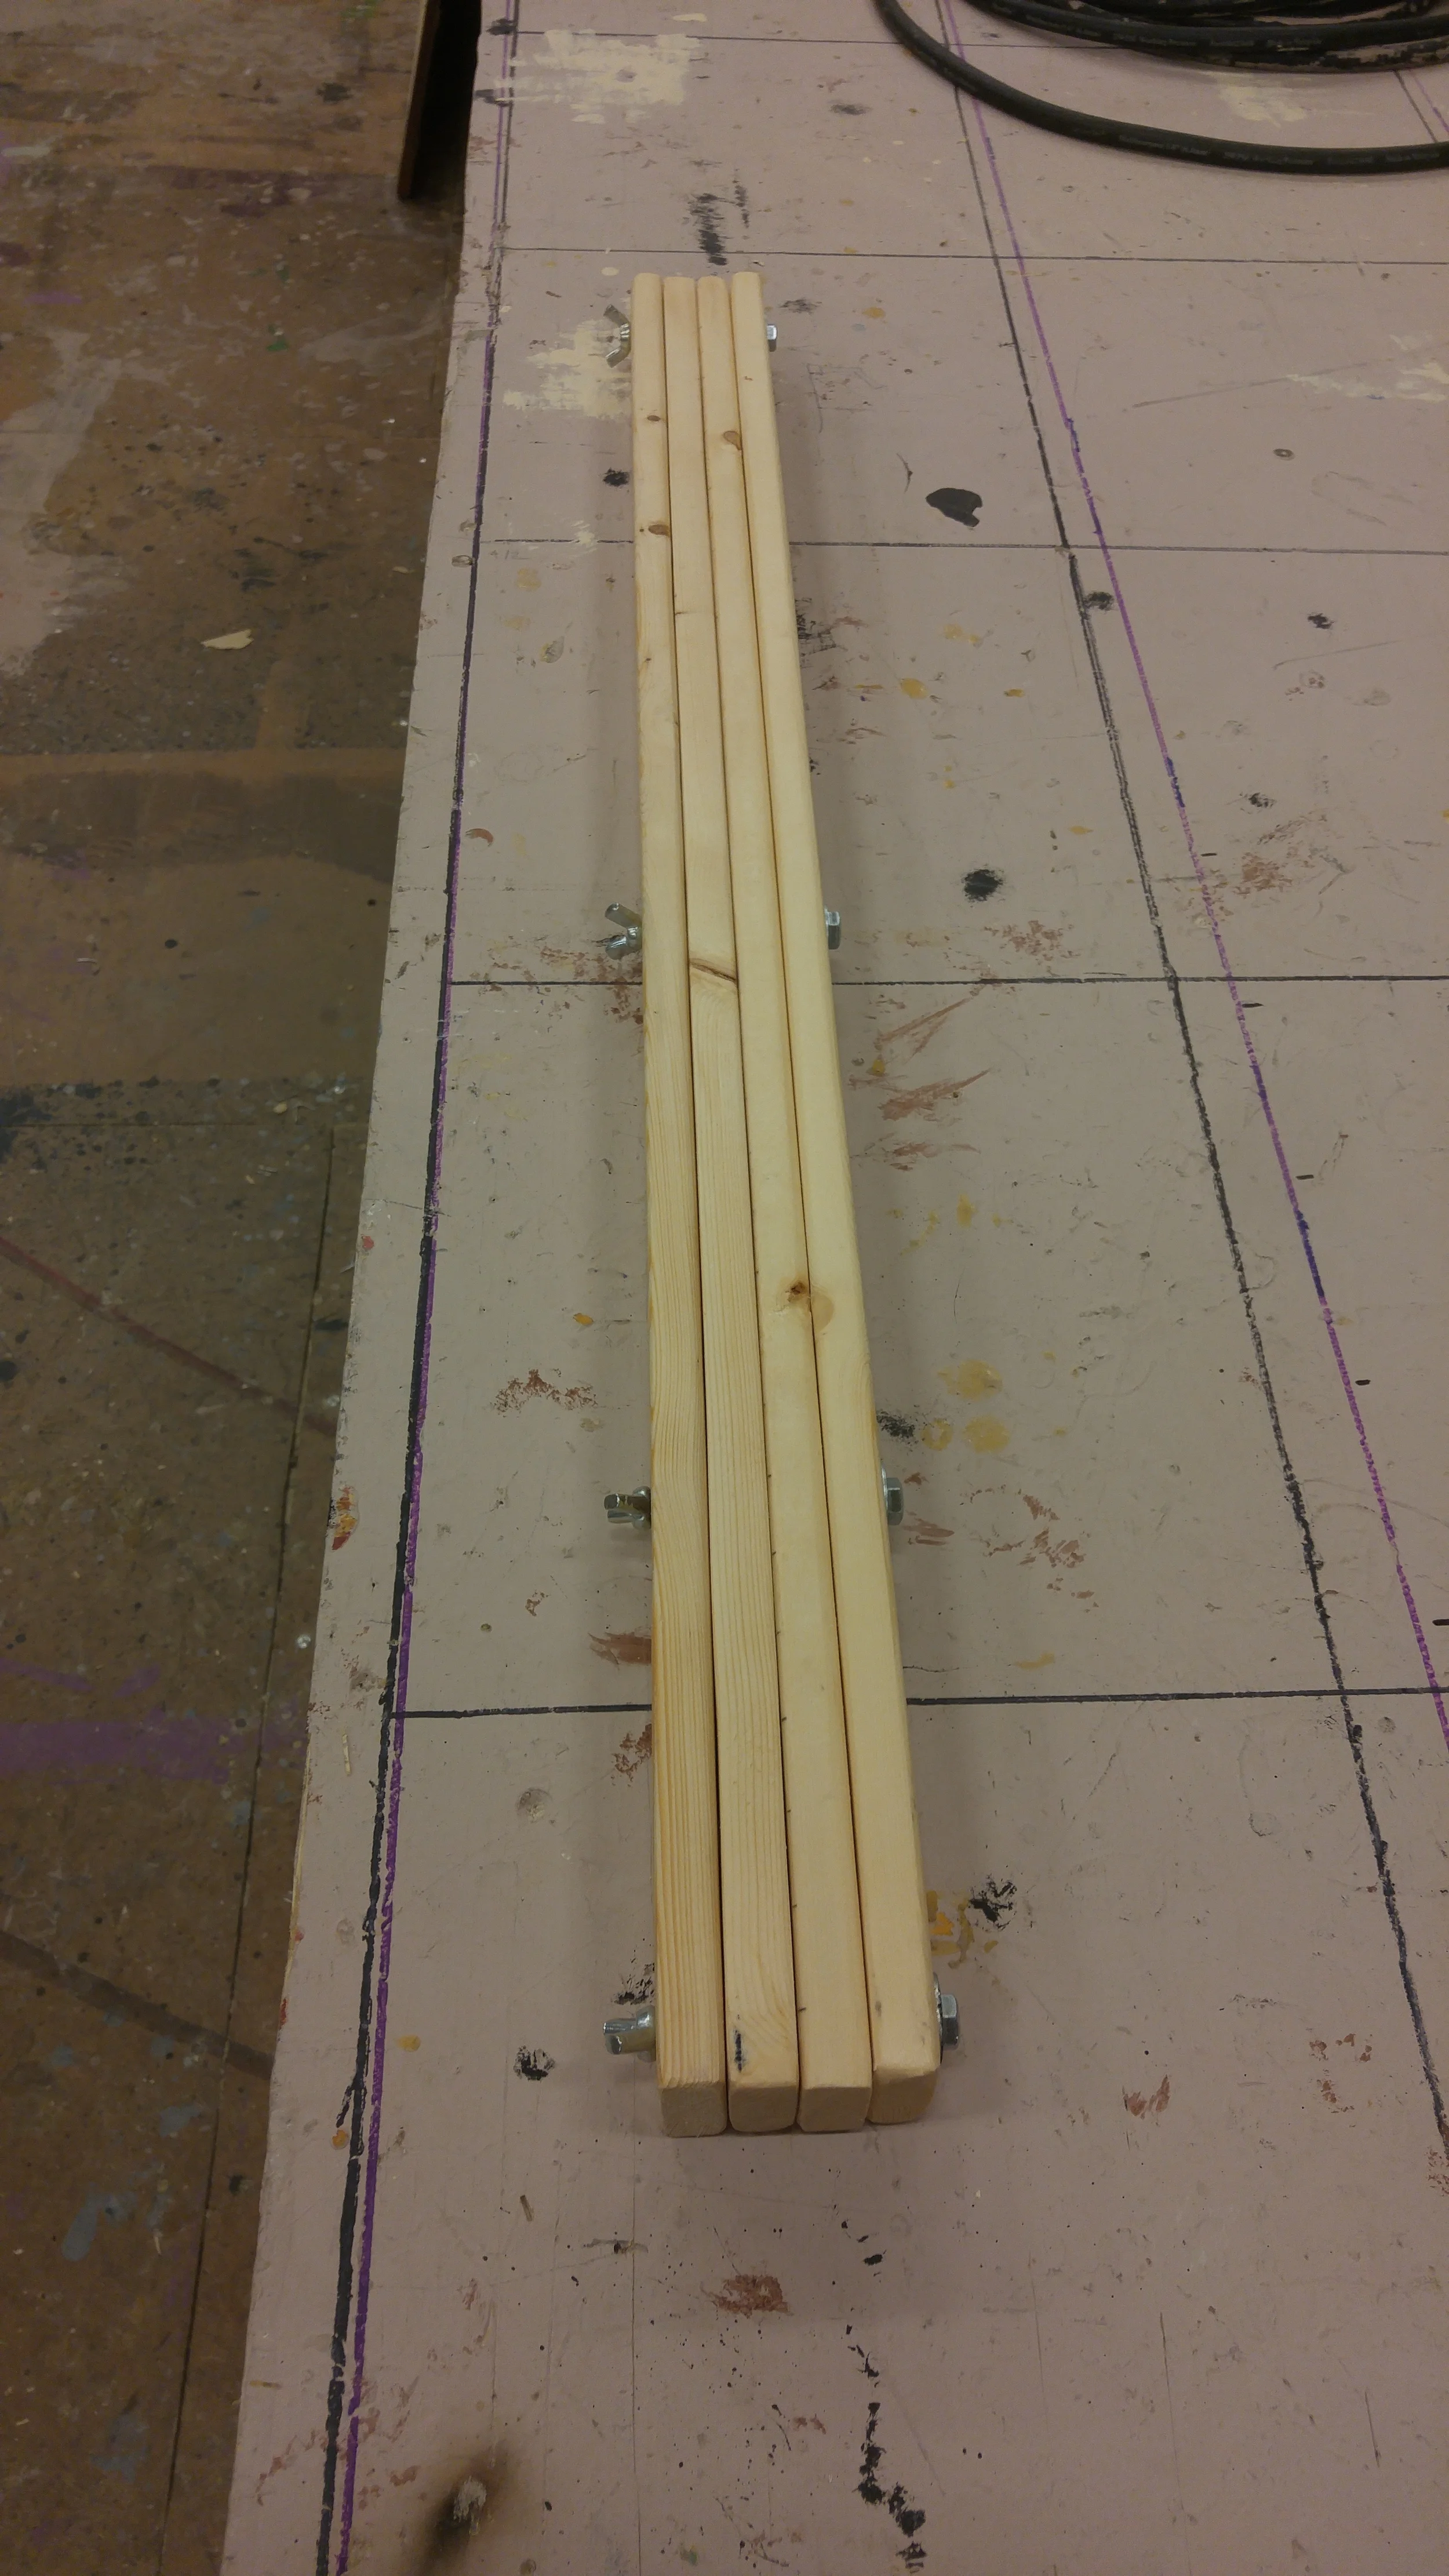
One other nice thing about this frame. If you have done an accurate job of placing your holes, the frame can store in a stack with the bolts inserted through, making it very portable and easy to store when not in use. Enjoy your frame.
Please share in the comments below if you use this tutorial to make your own frame or have any questions! Also, please feel free to share this blog, just give me credit and link back to my site.
Cheers & Paint on!